Unlock Perfect Soft-Boiled Eggs: Timing, Peeling & Ice Bath Secrets
Learning
how to soft boil an egg perfectly is a culinary game-changer, opening up a world of delightful possibilities in your kitchen. Far from being a mere breakfast staple, a perfectly cooked soft-boiled egg is a versatile powerhouse, ideal for dipping crispy toast "soldiers," adding a luxurious protein boost to a quick lunch, or elevating an evening meal. If you've already conquered the art of hard-boiling, soft-boiling is your natural next step, demanding a little more precision but rewarding you with truly spectacular results. This comprehensive guide will walk you through every secret, from selecting the right eggs to mastering the cook, and even the often-tricky art of peeling and serving. Prepare to impress yourself and your guests with consistently perfect soft-boiled eggs, every single time.
Understanding the Art of the Soft Boil: Runny, Jammy, and Beyond
At its heart, a soft-boiled egg is a marvel of contrasting textures: tender, fully set whites cradling a yolk that ranges from gloriously liquid to lusciously creamy. The beauty lies in your ability to control this spectrum, tailoring the egg to your exact preference or the specific dish it's destined for.
*
The Runny Yolk (4-5 minutes): This is the classic, ideal for dipping. The yolk is a vibrant, golden liquid, flowing freely. The whites are delicate yet completely set. It's an experience of pure indulgence, perfect with crusty bread or drizzled over warm grains.
*
The Jammy Yolk (6 minutes): Also known as a "medium-boiled" egg by some, this offers a thicker, spoonable, custard-like consistency. The yolk is still soft and rich but holds its shape more, making it fantastic for salads, avocado toast, or as a topping for ramen. The whites are perfectly tender and firm.
*
The Just-Set Yolk (7 minutes): Bordering on medium-boiled, this egg features a yolk that is mostly set but still yielding and creamy at its core. It's a great choice for those who prefer a little less runniness but still want that signature soft-boiled richness.
The true goal here is control. Once you understand the delicate interplay between heat and time, you'll be able to confidently dial in your desired result, transforming a simple ingredient into a culinary highlight.
Setting the Stage: Choosing and Preparing Your Eggs
Success begins even before the water touches the pot. The type and condition of your eggs play a surprisingly significant role in achieving that perfect soft boil.
*
Freshness Matters (Mostly): Unlike hard-boiled eggs, where slightly older eggs can be easier to peel, *very fresh eggs* are actually ideal for soft boiling. Their albumen (egg white) is thicker and holds its shape better, leading to neater, more attractive whites and a lower risk of blowouts during cooking.
*
Temperature Considerations: While this guide assumes you're using eggs straight from the refrigerator (which is perfectly fine), some chefs prefer bringing eggs to room temperature first to minimize thermal shock and potential cracking. If you do use room-temp eggs, you might need to shave off about 30 seconds from the recommended cooking times.
*
Size Consistency: Most timing guides, including ours, are based on *large* eggs. If you're using smaller (medium) eggs, subtract about 30 seconds from the cook time. For jumbo eggs, add 30-60 seconds. Consistency in size within your batch ensures even cooking.
*
Inspect for Integrity: Always choose eggs with intact shells. Oddly shaped eggs or those with visible cracks are more prone to breaking during the boiling process due to thinner or compromised shells.
By paying attention to these small details, you lay the groundwork for a flawless soft-boiled experience.
Mastering the Methods: Cold Start vs. Hot Start
There are two primary, highly effective methods for cooking soft-boiled eggs, each with its own advantages. The best choice often comes down to personal preference and what feels most comfortable in your kitchen. For a deeper dive into the pros and cons of each method, be sure to read our article on
Cold Start vs. Hot Start: Your Guide to Perfect Soft-Boiled Eggs.
The Cold-Start Method: Beginner-Friendly & Consistent
This technique is often favored by home cooks because it closely mirrors the method for hard-boiled eggs and tends to be very forgiving. It allows for more even heating as the eggs and water heat up together.
1.
Arrange Eggs: Carefully place your eggs in a single layer at the bottom of a saucepan. Avoid overcrowding, as this can lead to uneven cooking and potential cracking.
2.
Cover with Water: Pour cold water over the eggs until they are submerged by about one inch.
3.
Bring to Boil: Place the saucepan over medium-high heat and bring the water to a gentle, rolling boil. Watch closely, as precision in timing is crucial.
4.
Start the Timer: *The moment the water begins to boil actively*, start your timer. This is the critical juncture for accurate timing.
5.
Ice Bath Ready: Once your timer goes off, immediately transfer the eggs to a pre-prepared ice bath.
Cold-Start Timing Guide (from the moment water boils):
*
4 minutes: Very runny yolk, whites just set.
*
5 minutes: Runny center, softly set whites. Ideal for dipping.
*
6 minutes: Jammy, custard-like yolk. A crowd-pleaser for versatility.
*
7 minutes: Just-set, creamy yolk. Almost medium-boiled.
The Hot-Start Method: Precision & Control for the Pros
Popular in professional kitchens for its exactness, the hot-start method can deliver incredibly precise results but requires a bit more care in handling.
1.
Boil Water: Bring a pot of water to a rolling boil *before* adding the eggs.
2.
Gentle Immersion: Using a slotted spoon or a spider, carefully lower each egg into the boiling water. This minimizes the risk of cracking, which is higher with this method due to the sudden temperature change. Maintain a steady simmer throughout the cooking process – don't let it boil too aggressively.
3.
Start Timing: As soon as the last egg is in the water, start your timer.
4.
Transfer to Ice Bath: When the time is up, promptly remove the eggs and plunge them into an ice bath.
Hot-Start Timing Guide:
*
4–5 minutes: Beautifully runny yolk.
*
6 minutes: Perfect jammy yolk.
*
7 minutes: Mostly set, creamy yolk.
While the cold-start is often simpler for beginners, the hot-start method can offer a slight edge in consistency once mastered, making it a favorite for those aiming to
Master Soft-Boiled Eggs: Runny or Jammy Yolks Every Time.
The Essential Ice Bath: Your Secret Weapon for Perfection
Regardless of the cooking method you choose, an ice water bath is non-negotiable for achieving perfect soft-boiled eggs. This crucial step serves several vital purposes:
*
Halts Cooking Instantly: Eggs continue to cook from residual heat after being removed from boiling water. The ice bath immediately drops their temperature, stopping the cooking process dead in its tracks and preventing over-set yolks.
*
Prevents Discoloration: Rapid cooling helps to prevent the greenish-gray ring that can sometimes form around the yolk, ensuring your eggs look as good as they taste.
*
Aids Peeling: The sudden temperature change causes the egg white to contract slightly, helping to separate the membrane from the shell, which makes peeling significantly easier.
Prepare your ice bath *before* your eggs are ready – a bowl filled with cold water and plenty of ice cubes. Let the eggs sit in the ice water for at least 2-3 minutes, and preferably up to 5 minutes, before handling or peeling.
Gentle Peeling for Delicate Perfection
Soft-boiled eggs are, by their nature, more delicate than their hard-boiled counterparts. Their whites are softer, requiring a gentler touch during peeling. Rushing this step can lead to tearing the whites and ruining the presentation.
Here are the best tips for peeling soft-boiled eggs with minimal fuss:
1.
Tap and Roll: Once the eggs have cooled sufficiently in the ice bath, gently tap the wide end of the egg on a hard surface to create a small crack. Then, lightly roll the egg between your palms or on the counter to create a network of fine cracks all over the shell.
2.
Start at the Wide End: The wider end of the egg contains an air pocket, making it the easiest place to begin peeling. Gently pry away a small section of shell, exposing the membrane.
3.
Peel Under Water: For the cleanest peel, try peeling the egg under a slow stream of cool running water or submerged in a bowl of water. The water helps to loosen the membrane and wash away small shell fragments, allowing the shell to slide off smoothly.
4.
Be Patient: Work slowly and methodically. If a piece of white sticks, gently coax it off with your thumb or by letting water flow underneath.
5.
Consider Your Serving: If you're serving the egg in an egg cup, you may not need to peel it entirely. Simply slice off the top with a knife, and use a spoon to scoop out the delicious contents.
Serving Your Masterpiece: Culinary Inspirations
A perfectly soft-boiled egg is a versatile culinary gem, ready to elevate almost any dish.
*
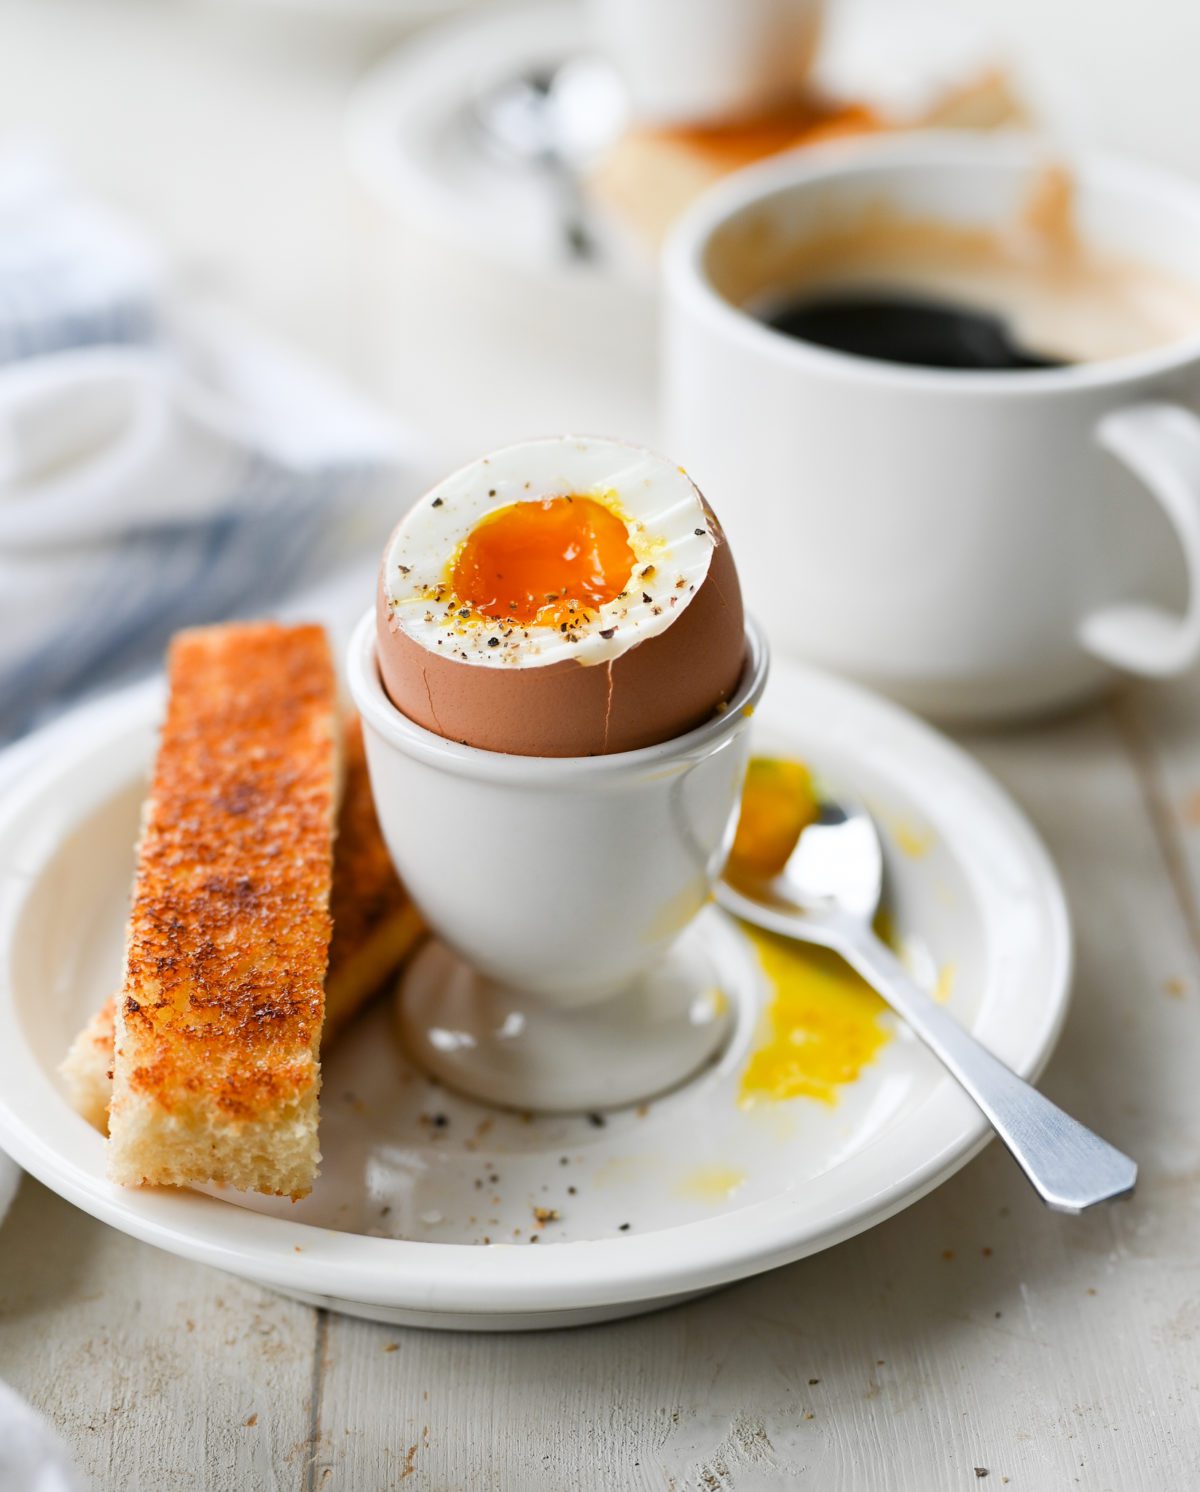
The Classic: Serve with a sprinkle of flaky sea salt and freshly cracked black pepper, alongside buttered toast "soldiers" for dipping.
*
Breakfast & Brunch Power-Up: Halve or quarter them over creamy avocado toast, grain bowls, or breakfast salads.
*
Lunch & Dinner Enhancer: Add to a bowl of ramen for an irresistible, silky texture. Top green salads, lentil soups, or even pasta dishes. They make an excellent addition to a Niçoise salad or a sophisticated open-faced sandwich.
*
Gourmet Touches: Sprinkle with chives, red pepper flakes, everything bagel seasoning, or a drizzle of high-quality olive oil for an extra layer of flavor and visual appeal.
Troubleshooting Common Soft-Boiled Egg Woes
Even with the best instructions, eggs can sometimes present challenges.
*
My Eggs Cracked! This can happen if eggs are too cold, dropped too quickly into boiling water, or if the water boils too vigorously. Try adding a splash of vinegar or a pinch of salt to the water (it won't prevent cracks, but can help whites coagulate if one occurs). Gently lowering eggs with a spoon is key for the hot-start method.
*
Yolk Not Runny Enough (or Too Runny)? This is purely a timing issue. Adjust your next batch by 30-60 seconds to find your sweet spot. Every stove and pot can be slightly different.
*
Hard to Peel? If your eggs are stubbornly clinging to their shells, they might be *too fresh*. While fresh eggs are ideal for preventing blowouts, very fresh ones can be harder to peel due to a tighter membrane. Ensure a thorough ice bath, and try peeling under water.
Conclusion
Learning
how to soft boil an egg is a rewarding journey that adds a touch of elegance and versatility to your cooking repertoire. With a clear understanding of timing, the importance of an immediate ice bath, and a gentle approach to peeling, you're now equipped to create flawless soft-boiled eggs that are sure to delight. Experiment with timings to discover your perfect runny or jammy yolk, and don't hesitate to integrate this simple yet sophisticated ingredient into a myriad of dishes. Practice makes perfect, and soon, you'll be confidently cracking open culinary masterpieces, one perfectly soft-boiled egg at a time.