Cold Start vs. Hot Start: Your Guide to Perfect Soft-Boiled Eggs
Mastering how to soft boil an egg opens up a world of culinary possibilities, transforming simple meals into delightful experiences. Forget dry, crumbly yolks; we're talking about yolks that are either gloriously runny, ideal for dipping toast soldiers, or beautifully jammy and spoonable, perfect for topping ramen or avocado toast. While the concept might seem daunting after perfecting the humble hard-boiled egg, soft-boiling is a surprisingly achievable skill that hinges on precision and understanding a few key techniques. This comprehensive guide will walk you through everything you need to know, demystifying the two most popular methods: the cold start and the hot start.
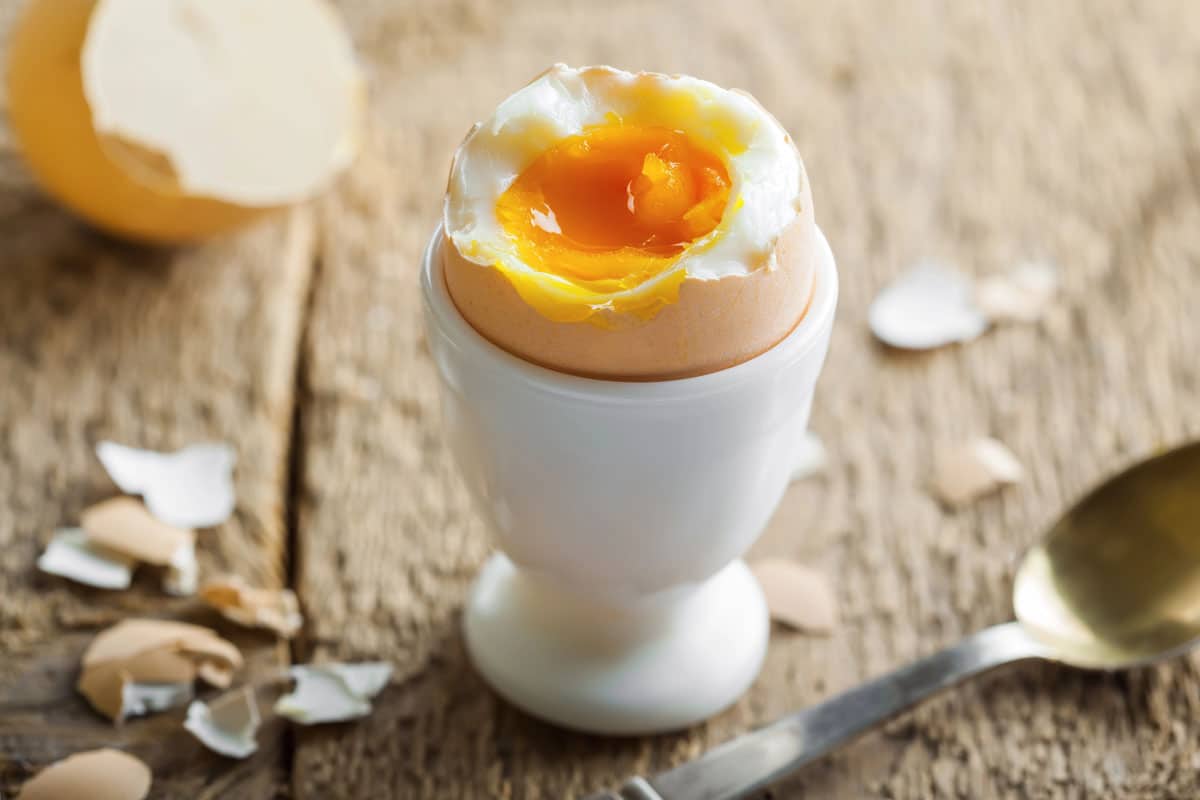
A perfectly soft-boiled egg is a masterpiece of texture – tender, set whites encasing a molten core. Depending on your desired consistency, you can achieve:
- Runny Yolk: A liquid gold center that flows beautifully, making it the ultimate dipping companion.
- Jammy Yolk: A thicker, custard-like yolk with a luscious, spoonable texture, often preferred for salads or grain bowls.
- Just-Set Whites: The exterior should be firm enough to hold its shape, yet still delicate and creamy, a stark contrast to rubbery, overcooked albumen.
The secret lies in control: understanding how specific temperatures and precise timing influence the egg's transformation. Once you grasp these principles, you'll be able to consistently reproduce your ideal soft-boiled egg, every single time.
Choosing Your Eggs & Prepping for Success
The journey to the perfect soft-boiled egg begins before the water even hits the heat. While any egg can be soft-boiled, a few considerations can significantly improve your results:
- Freshness Matters: Unlike hard-boiled eggs, where slightly older eggs can be easier to peel, very fresh eggs are ideal for soft boiling. Their stronger albumen (egg white) holds its shape better during cooking, leading to a neater, more attractive finished product with less spreading in the water if a minor crack occurs.
- Size Standardization: Most recipes, including the timing guides provided here, assume you are using large eggs. If you opt for smaller or jumbo eggs, you'll need to make slight adjustments to your cooking time – typically subtracting 30-60 seconds for smaller eggs and adding 30-60 seconds for jumbo.
- Temperature Control: This guide assumes you're using eggs straight from the refrigerator. While some chefs advocate bringing eggs to room temperature to prevent cracking, our methods account for chilled eggs. However, extreme temperature shock (dropping very cold eggs into vigorously boiling water) can increase the risk of cracking.
- Shell Integrity: Skip any eggs with unusual shapes or visible hairline cracks. These often have thinner shells and are more prone to breaking during the cooking process, leading to messy leaks and unevenly cooked whites.
Method 1: The Beginner-Friendly Cold Start
The cold start method is often recommended for those new to how to soft boil an egg because it's more forgiving and closely mirrors the process of making hard-boiled eggs. It minimizes the thermal shock to the eggs, reducing the risk of cracking, and allows for a more gradual, controlled cook.
Steps for the Cold Start Method:
- Arrange Eggs: Carefully place your eggs in a single layer at the bottom of a saucepan. Avoid overcrowding, as this can lead to uneven cooking.
- Add Water: Cover the eggs with cold water, ensuring there's about one inch of water above the highest egg.
- Bring to a Boil: Place the saucepan over medium-high heat and bring the water to a gentle rolling boil.
- Start Timing: As soon as the water reaches a full, gentle boil, immediately start your timer. This is the critical moment for precision.
- Cook: Maintain a consistent boil for your desired duration.
- Ice Bath: When the timer signals the end, promptly transfer the eggs from the hot water to a waiting ice water bath.
Cold Start Timing Guide (from the moment water boils):
- 4 minutes: For a very runny, liquid yolk with barely set whites.
- 5 minutes: A classic runny center with softly set, tender whites – perfect for dipping.
- 6 minutes: Achieve a delightful jammy yolk that is thick, spoonable, and custard-like.
- 7 minutes: A mostly set yolk that is still creamy but no longer fully liquid, bordering on a medium-boiled texture.
Method 2: The Precision of the Hot Start
Favored by many professional chefs for its precise control, the hot start method involves introducing eggs directly into already boiling water. While it requires a bit more care during placement to prevent cracking, it offers consistent results because the eggs begin cooking at a stable, high temperature from the very first second.
Steps for the Hot Start Method:
- Boil Water: Fill a pot with enough water to fully cover your eggs, and bring it to a gentle, steady boil over medium-high heat.
- Lower Eggs Gently: Using a slotted spoon, carefully lower each egg into the boiling water. This gentle approach is crucial to prevent the eggs from hitting the bottom of the pot too hard and cracking.
- Maintain Simmer & Start Timing: Ensure the water returns to a steady simmer (not a vigorous boil that could jostle the eggs) and immediately start your timer.
- Cook: Maintain this consistent simmer for the entire cooking duration.
- Ice Bath: As soon as the timer is up, swiftly transfer the eggs into an ice water bath.
Hot Start Timing Guide:
- 4–5 minutes: For a beautifully runny yolk.
- 6 minutes: The ideal time for a rich, jammy yolk.
- 7 minutes: Results in a mostly set, creamy yolk.
While both methods can yield excellent results, the hot start offers a slightly more direct heat application, which some find translates to a marginally more consistent texture. However, the cold start remains a fantastic, fuss-free option for home cooks.
The Critical Ice Bath & Gentle Peeling
Regardless of whether you choose the cold start or hot start, the ice water bath is a non-negotiable step for perfect soft-boiled eggs. This simple action serves multiple crucial functions:
- Halts Cooking Instantly: By plunging the eggs into ice-cold water, you immediately stop the residual heat from continuing to cook the yolks. This prevents them from transitioning from jammy to firm, or runny to jammy, giving you precise control over the final texture.
- Prevents Over-Setting: It locks in that desired runny or jammy consistency, ensuring your yolk remains perfectly molten.
- Aids Peeling: The rapid temperature change causes the egg white to contract, creating a slight gap between the cooked white and the shell membrane. This makes the eggs significantly easier to peel, reducing frustrating tearing and sticking. For even more detailed insights into perfecting your soft-boiled eggs, including advanced timing and peeling hacks, check out our guide on Unlock Perfect Soft-Boiled Eggs: Timing, Peeling & Ice Bath Secrets.
Allow the eggs to rest in the ice water for at least 2-3 minutes before handling or peeling. This ensures they are cool enough to manage and that the cooking process has completely stopped.
Tips for Delicate Peeling:
Soft-boiled eggs are more fragile than their hard-boiled counterparts, so a gentle touch is key. Here's how to peel them without damaging their delicate whites:
- Tap and Roll: Gently tap the wider end of the egg (where the air pocket is located) on a hard surface to crack the shell. Then, lightly roll the egg between your palms to create an intricate web of cracks all over the surface.
- Start at the Wide End: Begin peeling from the wider end, as this is typically where the air pocket is, making it easier to get under the membrane.
- Peel Under Water: For the smoothest peeling experience, try peeling the eggs under a gentle stream of cool running water, or even in the ice bath itself. The water helps to lubricate and loosen the membrane, allowing the shell to slide off more easily.
- Be Patient: Take your time. If a piece of shell seems stuck, don't force it. Try to get under a different section or use the water to coax it loose.
Once peeled, your soft-boiled eggs are ready for enjoyment! Serve them in an egg cup with a sprinkle of salt and pepper, slice them over salads, or add them to your favorite grain bowl. Ready to take your soft-boiled game to the next level? Dive deeper into achieving consistently perfect results with our comprehensive article: Master Soft-Boiled Eggs: Runny or Jammy Yolks Every Time.
Conclusion: Your Perfect Soft-Boiled Journey
Learning how to soft boil an egg is a truly rewarding culinary skill, adding elegance and versatility to your cooking repertoire. Whether you opt for the forgiving cold start or the precise hot start method, remember that consistent timing and a crucial ice bath are your best friends. Don't be afraid to experiment with the cooking times in 30-second increments to discover your absolute ideal runny or jammy consistency. With a little practice, you'll be cracking into perfectly cooked soft-boiled eggs that elevate any meal, proving that even the simplest ingredients can achieve gourmet status with the right technique.
